
A friend of mine is expecting her first baby after a lot of trying, waiting, and praying. I was excited about the baby shower so I volunteered to make the invitations and decorations. It turned out to be a little more of a job than I expected, but well worth it for such a sweet, beautiful friend on such a happy occasion!

They needed 53 invitations and they knew they wanted to use a triangular pennant theme, to match a quilt that was made special for the new baby. I remembered that Stampin' Up had a pennant punch, and that my friend Stephanie had ordered it from me before it retired. So I called her up and she kindly let me borrow it. Thank Goodness, because I'm sure it would have made me (more) insane trying to get all those diagonals correct!

Next I played with the color and pattern combinations, trying to get just the right look, making small changes and reworking it over and over. Once I found what worked, I would use that combo until I ran out of one of the papers, then switch to something similar.

Once I had found the combination I liked, I decided to put the cards together in batches, assembly-line style, since there were so many little steps. For my first batch, I went ahead and did all my punching first. Then I would be able to just grab and glue.


I made piles of each color and got to gluing! Tombow multipurpose liquid glue was my friend here! I would put a drop on the back of one pennant and then "kiss" it to the back of another one before adhering it to the project, that way the glue was spread as thinly as possible and there was an economy of motion!


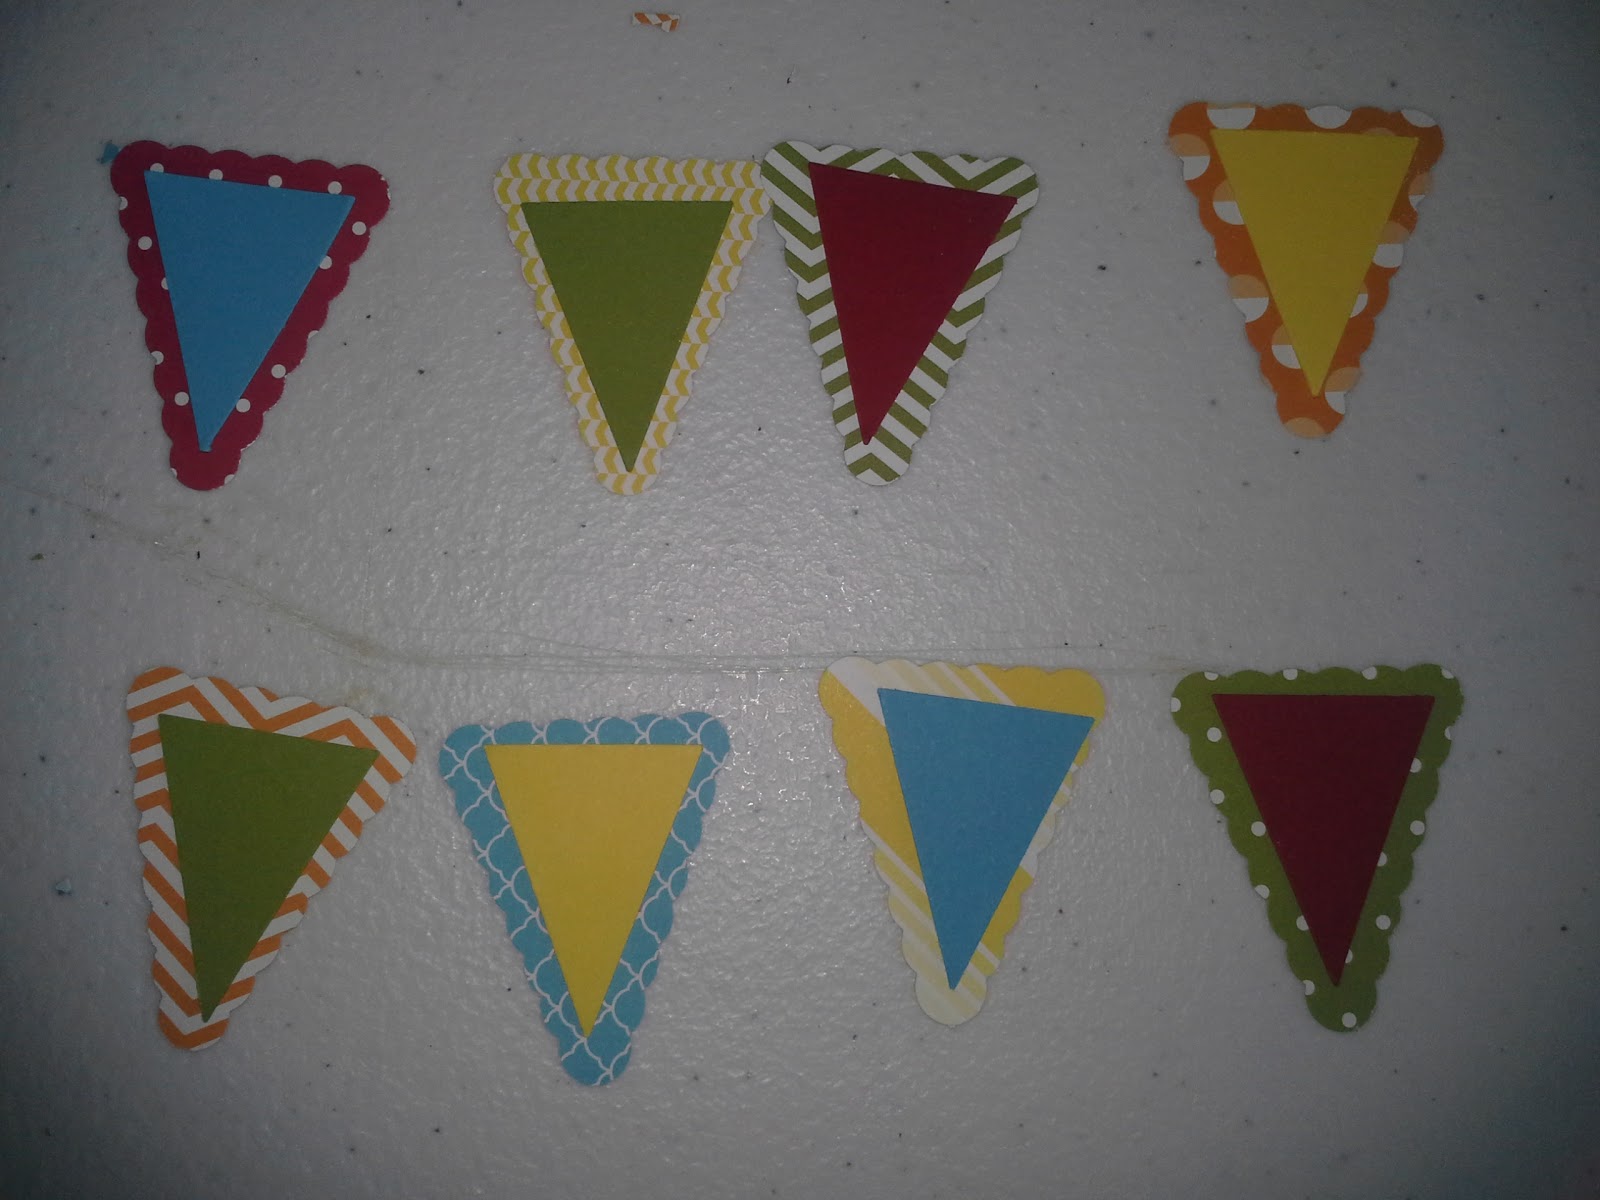
My friend had chosen some twine for the pennants to "hang" from, which turned out to be too thick for the dainty look of the pennants and the size of the card, so I split it along its natural 3 strands.
Using the new Tear & Tape (amazing stuff!) I made a small swag shape, and then along the very top edge I adhered the twine. I gave it a twist as I laid it down so that it wouldn't unravel. This adhesive is so strong and it held GREAT! I used the remaining exposed strip of tape to adhere the pennants. That is the only adhesive I used behind the pennants so that the bottom of each one would be free and seem more like it's hanging from the twine.

To add the final touches, I made 200 tiny bows to "tie up" the ends of the twine - 4 on each card. I used a child-size fork and this tutorial to help me achieve consistent bows of this size.

I adhered each one onto the card with a half glue dot.

I also made envelopes with my punch board. They are different colors because that was all the envelope paper I had! I love the envelope paper and I just refuse to use regular cardstock for envelopes anymore.
All in all, it took about four days to complete all this. It was one of those projects where you could work for 3 hours and not have any finished cards. But then once all those preparation steps were done, assembling all 53 cards took about an hour. Which is pretty good considering that's about a card per minute.

It was a labor of love. I was so glad to do it and I'm happy with the way they turned out! The grandmother-to-be will see them for the first time when she picks them up tomorrow. I hope she likes them!
I'm excited about creating some party decorations soon, too. Another post when we get there!
Here are the Stampin' Up supplies I used:
Happy creating!
www.scrappyz.stampinup.net
No comments:
Post a Comment